Manage packages from the Package Manager UI
The Package Manager UI lets you browse, filter, and install packages directly in VS Code without using the Command Palette or command line. You can view package details, select versions, review licenses, and uninstall packages — all from a single panel.
Open the Package Manager
To open the Package Manager UI:
- Click the CodeFusion Studio icon

 in the VS Code activity bar.
-
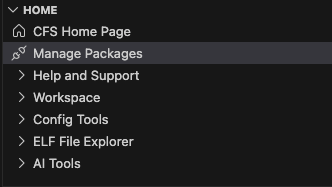
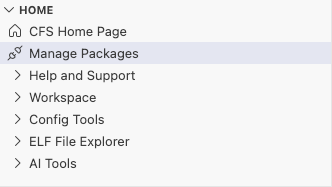
Click Manage Packages in the Home section.
Tip
You can also open the Package Manager from the Command Palette (Ctrl+Shift+P / Cmd+Shift+P) by running (CFS) Open Package Manager.
Sign in to access restricted packages
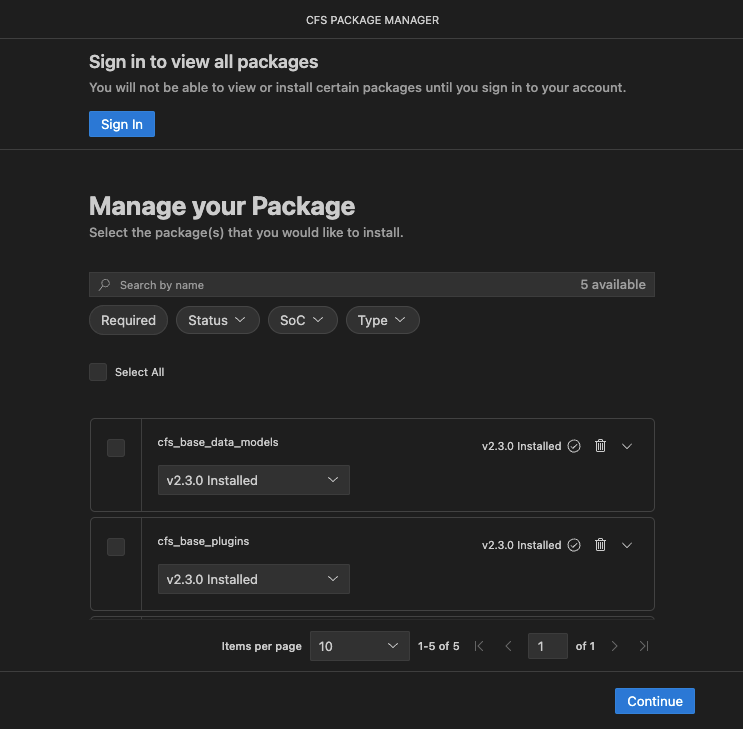
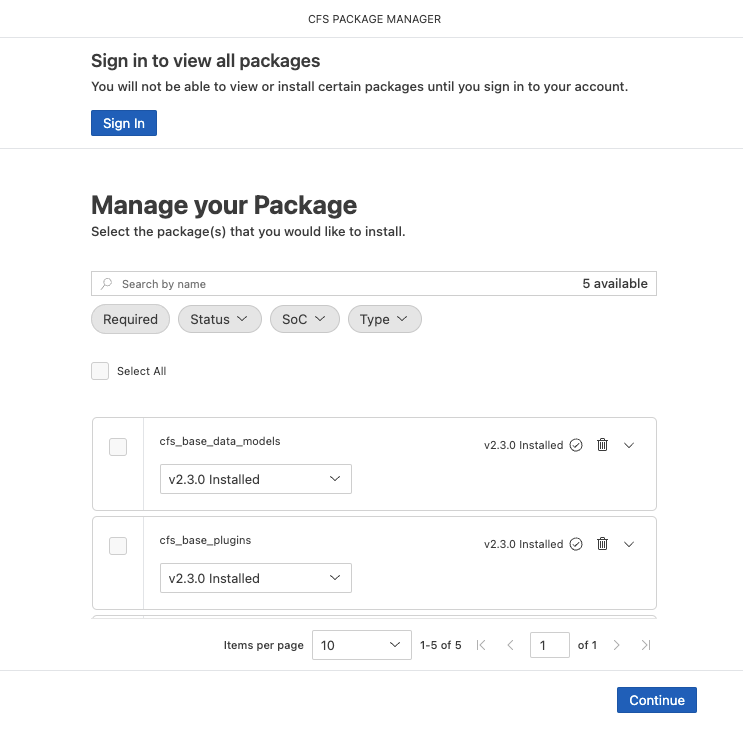
Some packages require a myAnalog account. When the Package Manager opens, a sign-in prompt appears at the top of the panel if you are not already logged in. You can dismiss the prompt and browse public packages without signing in.
To sign in:
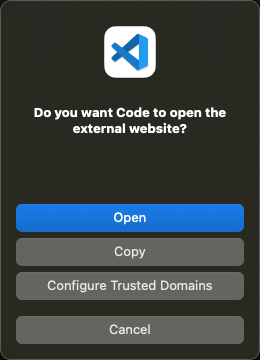
- Select Sign In. A browser prompt appears in VS Code.
-
Select Open to open the browser. If the browser does not open, select Copy to copy the link and paste it into your browser manually.
-
On the myAnalog login page, use the sign-in method associated with your account:
- Email and password: Enter your registered email address and password, then select Log in. If you don’t have a myAnalog account, register at analog.com/myAnalog.
- Google Account: Select Google Account, then sign in with your Google credentials.
- LinkedIn Account: Select LinkedIn Account, then sign in with your LinkedIn credentials.
- Analog Devices Account: If you are an Analog Devices employee or contractor on a managed device, select Analog Devices Account, then sign in with your Analog Devices credentials.

-
When the Sign-in Successful page appears, close the browser and return to VS Code.
-
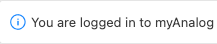
A VS Code notification confirms you are logged in.

Tip
To check your login status at any time, run (CFS) myAnalog Status from the Command Palette. For session expiry and reauthentication guidance, see Access restricted packages.
Browse and filter packages
The Package Manager displays all available packages in a paginated list. Use the search bar and filters to find what you need.
Search
Enter a package name in the search bar to filter packages. The total number of matching packages updates as you type.
Filters
The following filters are available:
| Filter | Options |
|---|---|
| Required | Show only packages required by the current workspace |
| Status | Installed, Not Installed, Update Available |
| SoC | Filter by supported processor |
| Type | Data Model, Plugin, SDK, Toolchain |
Select multiple options within a filter to broaden results. Combine filters to narrow the list.
Select All
Use the Select All checkbox to select all packages on the current page.
View package details
Select the expand arrow on a package card to view details:
- Description — what the package provides
- Type — Data Model, Plugin, SDK, or Toolchain
- CFS compatibility — which CFS versions this package supports
- License — the license name with a View License link
- Cached versions — versions already downloaded locally
- Supported SoCs — processors this package targets
Select a version
Each package card includes a version menu. The installed version and latest version are labeled in the list. Select a different version before installing if needed.
If a workspace requires a specific version range, the required range appears beneath the version menu. Selecting a version outside the required range shows a warning.
Install packages
- Check the box on one or more package cards to select them.
- Select Continue.
-
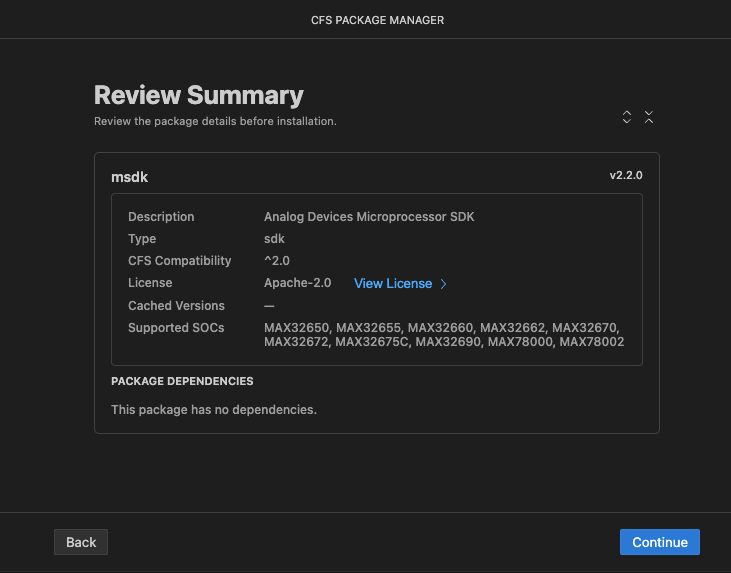
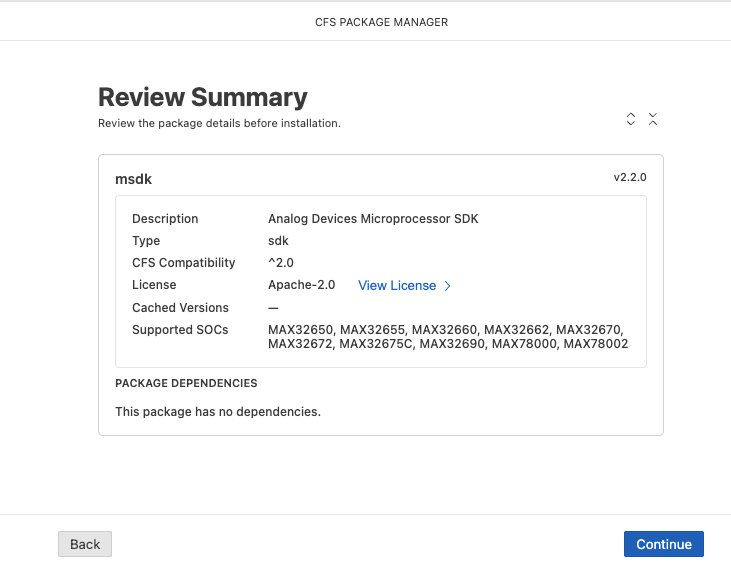
A review summary lists all selected packages and their versions. Any dependencies required by the selected packages are resolved and shown automatically. Review the details, then select Continue.
-
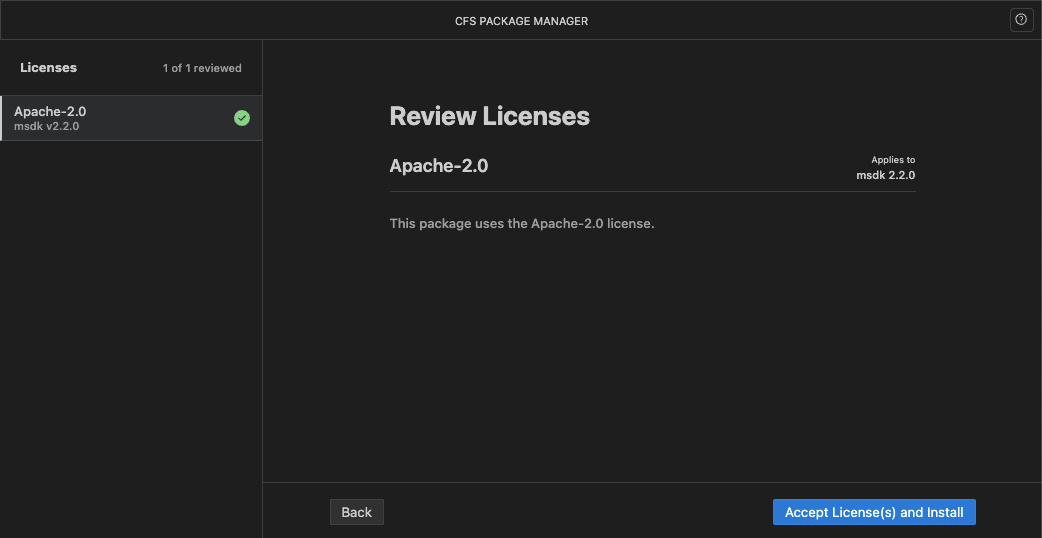
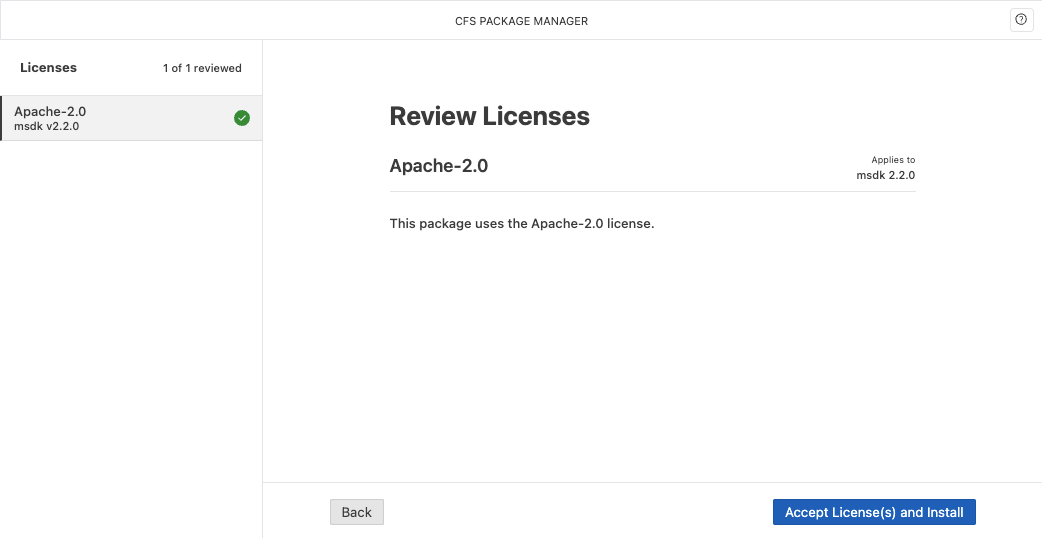
The license review screen appears. Review each license — a checkmark indicates you have opened it. The Accept License(s) and Install button becomes active once all licenses have been reviewed. Select Accept License(s) and Install to proceed.
-
Installation begins. A progress indicator appears during installation.
Note
Built-in packages ship with CFS and cannot be uninstalled. They are indicated by a tool icon (
 ) rather than a delete icon.
Uninstall packages
- Select the delete icon to the right of the package card (installed packages only).
- If the package has dependent packages that will also be removed, a confirmation modal lists them.
- Select Uninstall (or Yes, Uninstall All when dependent packages are listed) to confirm, or Cancel to exit without changes.
Select Don't show this message again in the confirmation modal to skip the confirmation dialog for future uninstalls where the package has no dependents. The confirmation dialog always appears when dependent packages will also be removed.
Tip
To remove cached packages after uninstalling, use the (CFS) Delete Package from Cache command in the Command Palette. See Manage packages from the Command Palette.