Blinky
Blinky is the simplest example and the one to run first — it verifies your board by flashing an LED and printing over UART.
Before you begin, complete the prerequisites.
Create the Blinky workspace
Create a new workspace, selecting MAX32657 or MAX32658 as the device, the EvKit_V1 board, and the Zephyr Single Core Blinky template.
Build Blinky
-
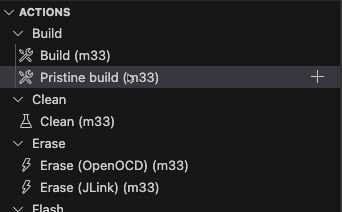
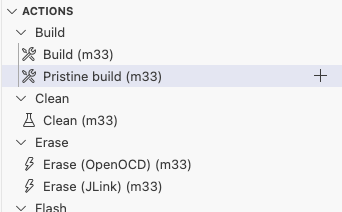
In the Actions view, select Pristine Build (m33) to build the project.
-
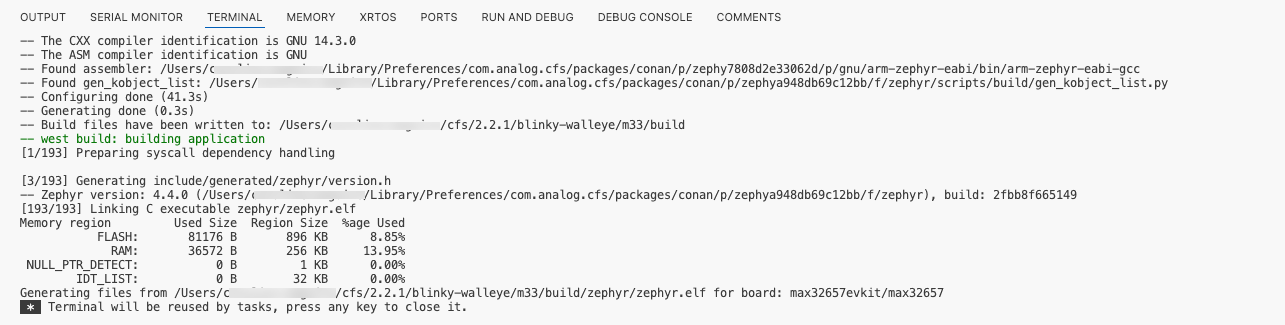
Confirm that the build completes successfully — the terminal output ends with
zephyr.elf.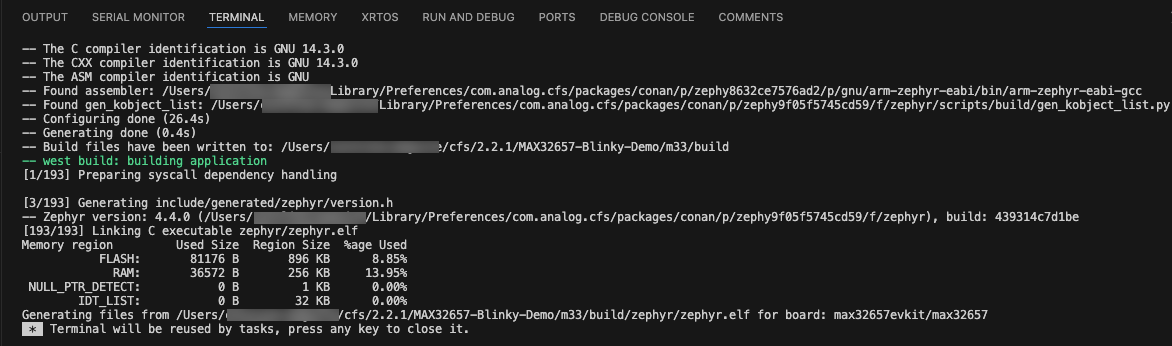
View the serial output
Blinky prints a message over the UART0 console each time the LED toggles. Set up the serial monitor before flashing so you capture the output. A USB connection creates a virtual serial port at 115200 baud. No extra hardware is required.
-
Identify which serial port the board is using:
- Windows: Open Device Manager → Ports (COM & LPT) and note the COM port (for example,
COM3). - macOS: Run
ls /dev/tty.*in Terminal and look for/dev/tty.usbserial-*or/dev/tty.usbmodem*. - Linux: Run
ls /dev/ttyUSB* /dev/ttyACM*in a terminal and look for/dev/ttyUSB0or/dev/ttyACM0.
Tip
Unsure which port? Disconnect the cable, note which ports disappear, then reconnect. For additional troubleshooting steps, see Connect hardware.
- Windows: Open Device Manager → Ports (COM & LPT) and note the COM port (for example,
-
Open a serial terminal. To use the VS Code Serial Monitor:
- Install the Serial Monitor extension from the VS Code Marketplace, if it is not already installed.
- Select the Serial Monitor tab in the panel, next to the Terminal and Output tabs.
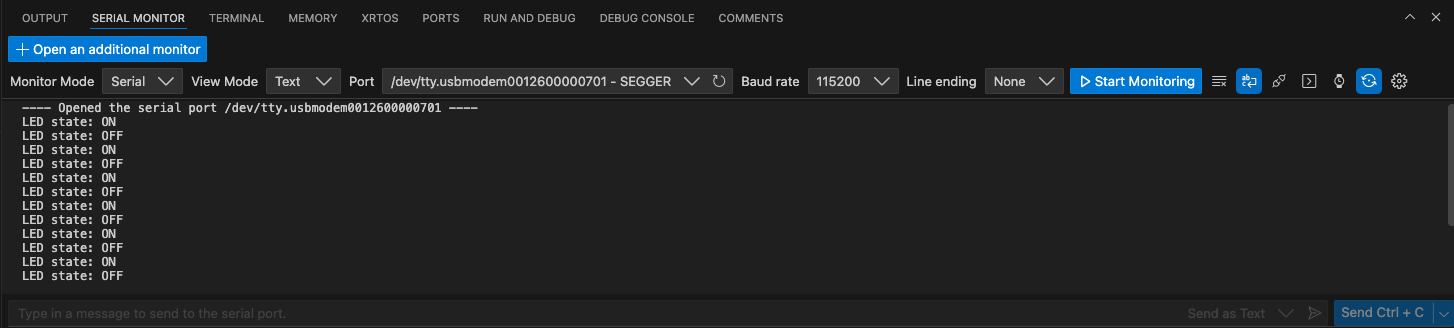
- Set the Monitor Mode to Serial.
- Set the Port to the port you identified in step 1.
- Set the Baud rate to 115200.
- Click Start Monitoring.
For other terminal options (Tera Term, Minicom, or PuTTY), see Serial output.
Flash and run
In the Actions panel, click Flash & Run (J-Link)(m33).
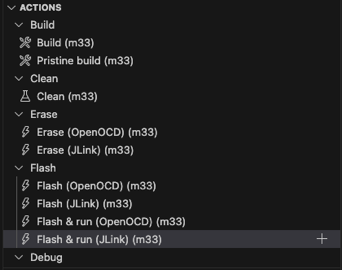
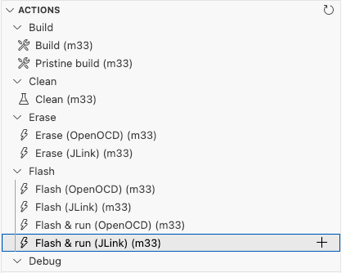
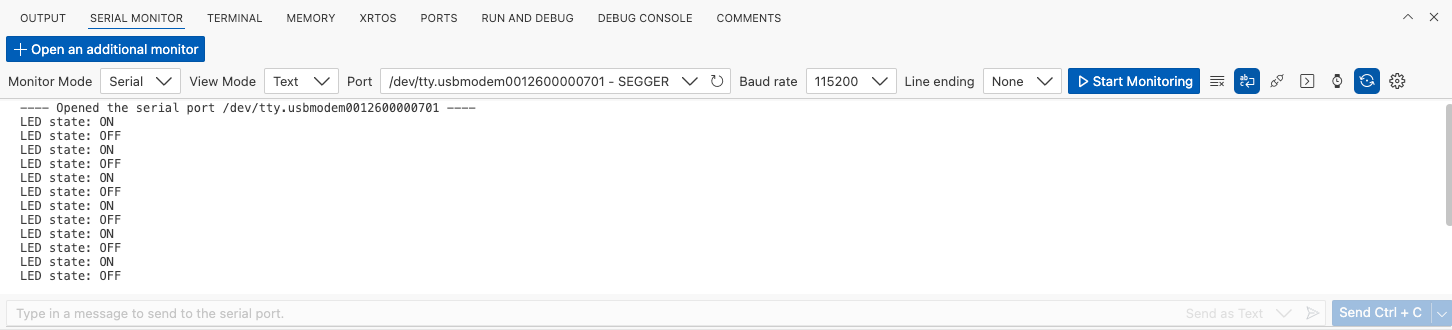
When flashing completes, LED0 on the EV Kit blinks and the serial terminal prints a message each time the LED changes state.
Modify and debug
- In the Explorer, open
m33/src/main.c, find the line that definesSLEEP_TIME_MS, and change the default from1000to300to make the LED blink faster. - Rebuild the project.
- Select the Run and Debug icon

 on the Activity Bar.
- From the menu, select CFS: Debug with JlinkGDBServer and JLink (Arm Embedded).
- Click the Start Debugging icon (green play button) or press F5. The debugger halts execution at the start of
main(). - Use the debug action buttons in the VS Code toolbar to control execution.
- Click Step Over repeatedly to single-step through the
while (1)loop. As you step past each toggle, the LED turns on, then off. - Click Continue to resume running. The LED blinks at the new, faster rate, and the serial terminal shows the ON/OFF messages.
- Click Step Over repeatedly to single-step through the
For more on breakpoints, variable inspection, and stepping, see Debug an application. CFS also includes additional debugging tools. See Debug tools.