Getting started with the AI Debug Assistant
The AI Debug Assistant provides two integration paths: the CFS MCP debug server (recommended for production) and the CFS Debug chat participant (for quick interactions). Choose the path that fits your workflow.
Before using the assistant
Most AI Debug Assistant tools require an active debug session to inspect hardware state. Press F5 or click the Run and Debug icon 
 before asking the assistant to investigate, inspect, or control your target. Alternatively, you can ask the assistant to start a debug session using the appropriate configuration name. For example: "Start debugging CFS: Debug with GDB and OpenOCD (ARM Embedded)". For detailed debug steps, refer to Start a debug session.
CFS MCP debug server (recommended)
Before you begin, make sure you have:
- CodeFusion Studio installed with an active project
- For GitHub Copilot Agent Mode: VS Code 1.96.0 or later and the GitHub Copilot extension
- For Claude Code: Claude Code installed
Start the MCP server
The MCP server runs as a local HTTP service inside CodeFusion Studio. The server does not start automatically — you must start it manually before connecting an AI client.
- Open the Command Palette (
Ctrl+Shift+P/Cmd+Shift+P) and type MCP Server.

- Run
(CFS) MCP: Start Debug Server.
The following commands are available for managing the server:
| Command | Description |
|---|---|
(CFS) MCP: Start Debug Server |
Start the MCP server |
(CFS) MCP: Stop Debug Server |
Stop the MCP server |
(CFS) MCP: Server Status |
Check whether the server is running and which port it is listening on |
When the server starts, a VS Code notification shows the URL it is listening on (for example, http://localhost:56448/mcp). Note the port number from this URL — you will need it to connect AI clients.
Tip
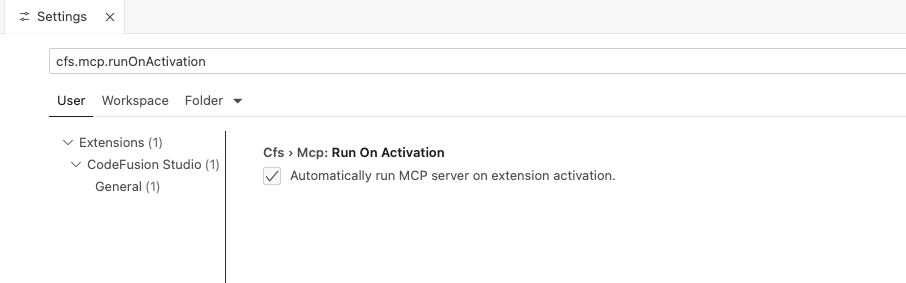
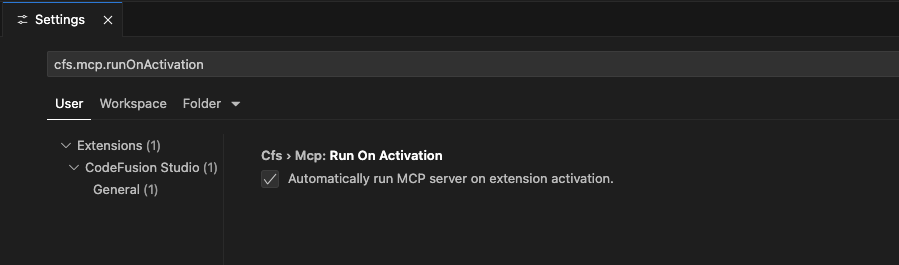
To start the MCP server automatically when the extension activates, go to Settings → Extensions → CodeFusion Studio → General → MCP Server and enable the Run on Activation setting (cfs.mcp.runOnActivation).
Connect your AI client
The MCP server works with any MCP-compatible AI client. The sections below show connection steps for commonly used clients.
Example: GitHub Copilot Agent Mode
- Open GitHub Copilot Chat (
Ctrl+Alt+I/Cmd+Shift+I) - Click the mode selector dropdown in the chat input box — it defaults to Ask
- Select Agent
- Describe what you want investigated
When VS Code MCP support is enabled and available, Agent Mode automatically discovers the MCP server while it is running and uses it to access all debug tools and diagnostic prompts.
Note
If Agent Mode does not show the CFS MCP server or its tools, make sure your VS Code installation supports MCP and that MCP support is enabled/available. If MCP support is unavailable in your environment, use the CFS Debug chat participant or connect with an external MCP client such as Claude Code instead.
Example: Claude Code
The MCP server is assigned an available port by the operating system at startup. Before connecting Claude Code, check which URL was assigned:
- Check the VS Code notification that appears when the server starts, or
- Run
(CFS) MCP: Server Statusin the Command Palette.
Both show the full URL (for example, http://localhost:56448/mcp).
For a stable connection, we recommend setting a fixed port before registering with Claude Code. See Set a fixed port below.
Once you know the port, register the server with Claude Code:
claude mcp add --transport http cfs-debug http://localhost:<port>/mcp
Replace <port> with the port assigned at startup. This registers the CFS MCP server with Claude Code using the name cfs-debug.
Important
After adding the server, exit and restart Claude Code for the registration to take effect. To verify the server was added, run claude mcp list.
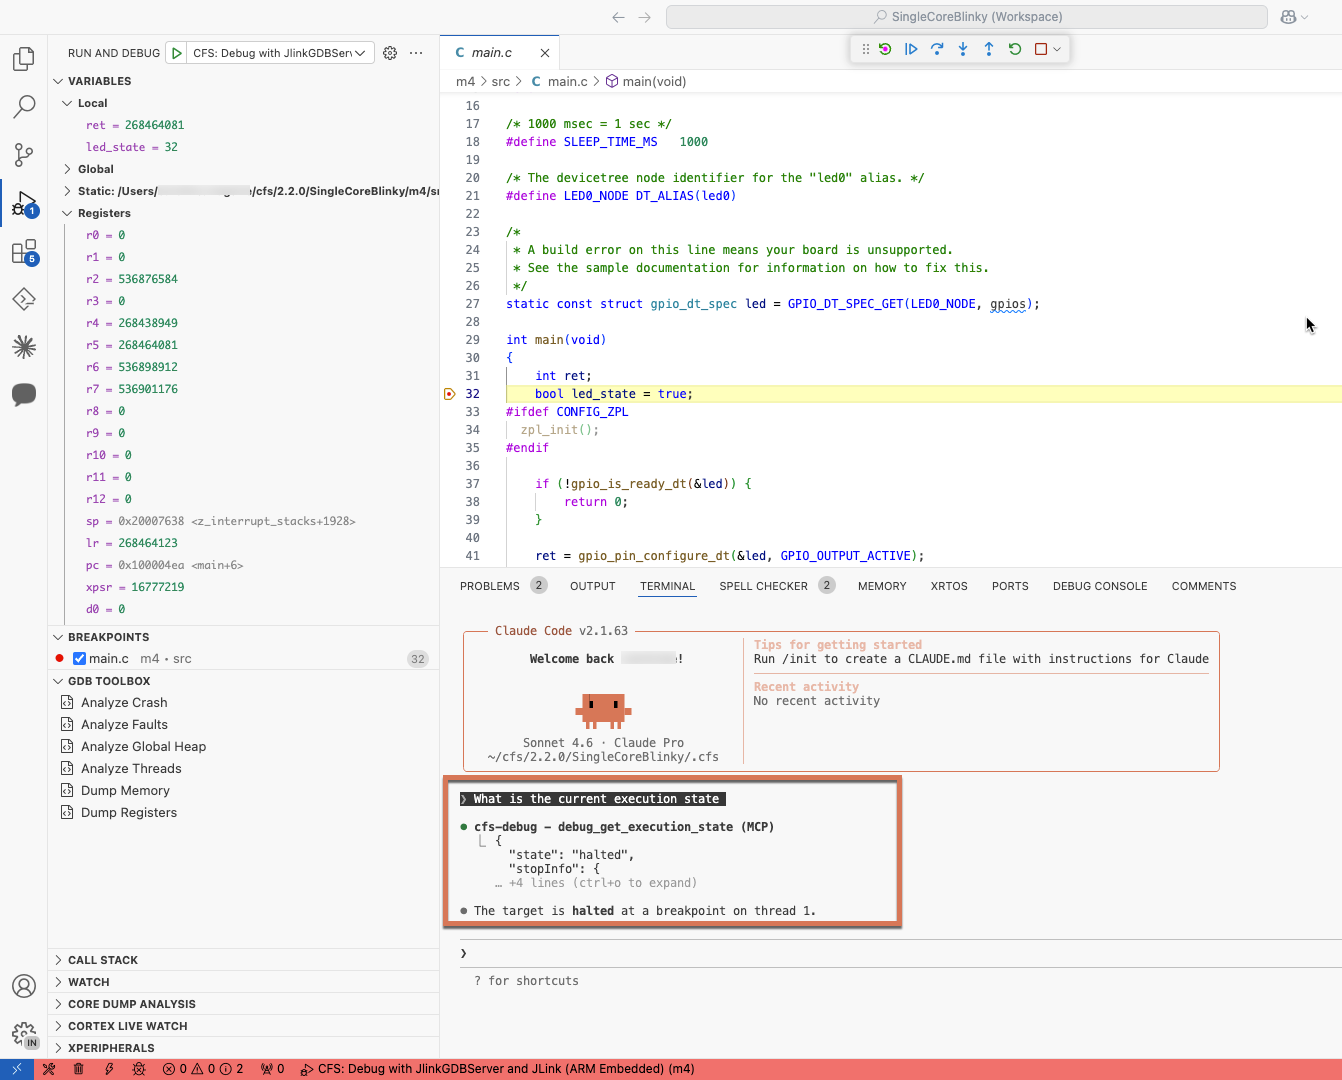
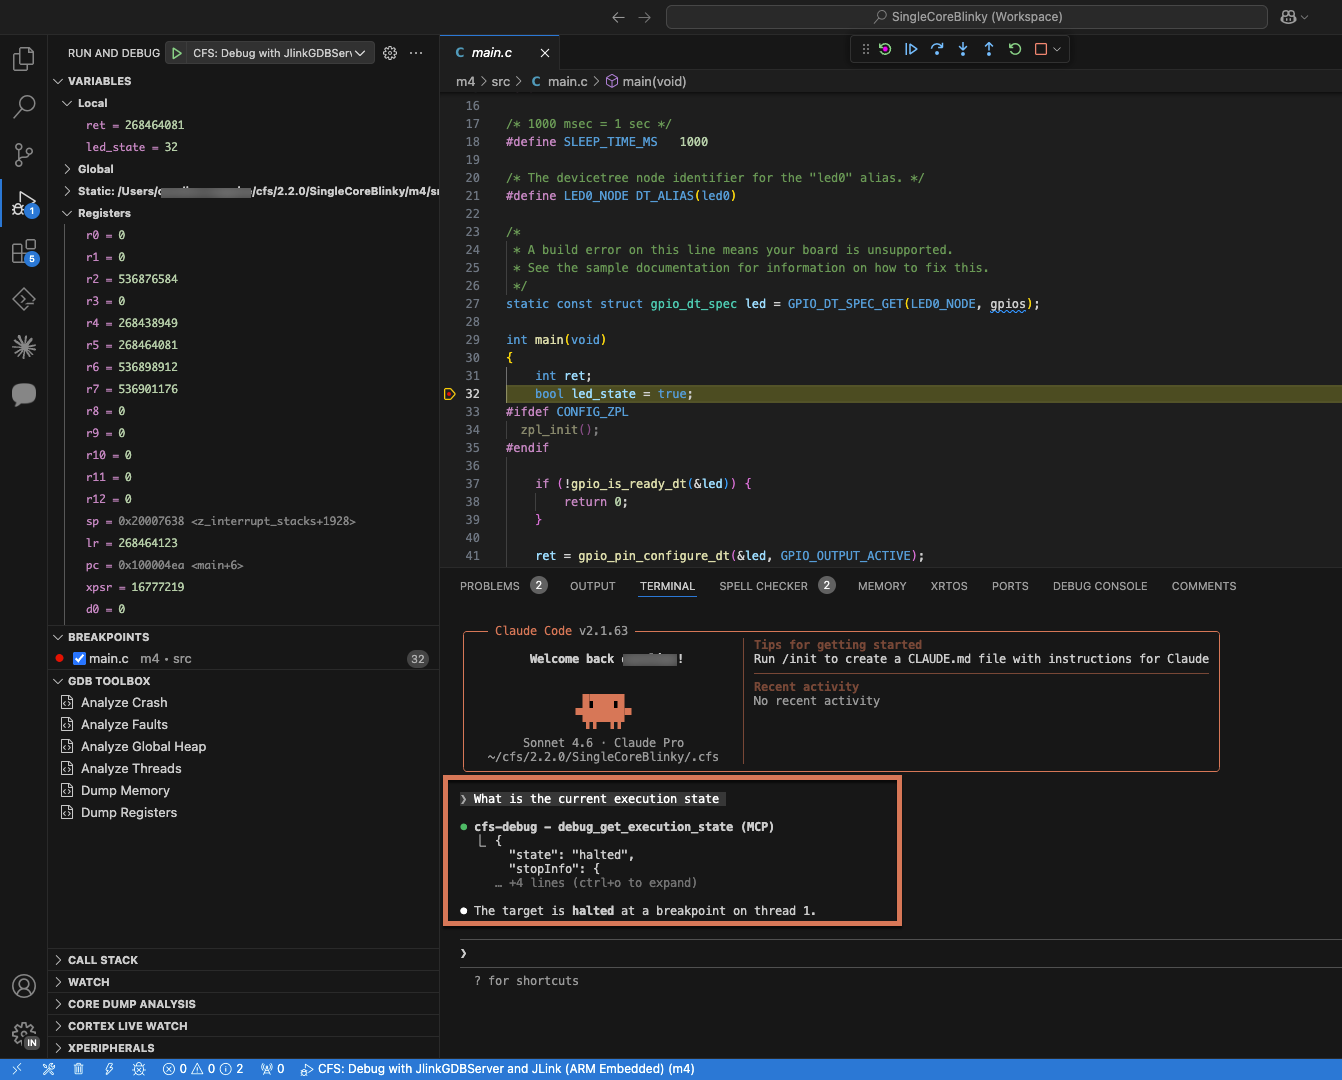
Start a debug session in CodeFusion Studio, then try asking Claude: "What is the current execution state of the target?" or "Show me the registers."
Other MCP-compatible clients
The above are examples only - there are numerous MCP-compatible clients available.
To connect another MCP client:
- Start the MCP server via
(CFS) MCP: Start Debug Serverin the Command Palette - Note the server URL displayed in the VS Code notification (for example,
http://localhost:56448/mcp) - Register this URL with your AI client - consult your client's documentation for how to add an MCP server
The specific registration method varies by client, but all MCP-compatible clients provide a way to connect to external MCP servers.
Optional: Set a fixed port
By default, the OS assigns an available port when the MCP server starts. To use a fixed port instead (recommended for Claude Code, so the registration URL stays stable):
- Go to Settings → Extensions → CodeFusion Studio → General, or search for (
cfs.mcp.port).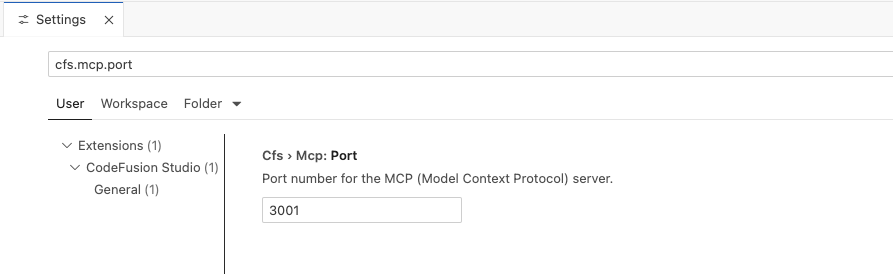
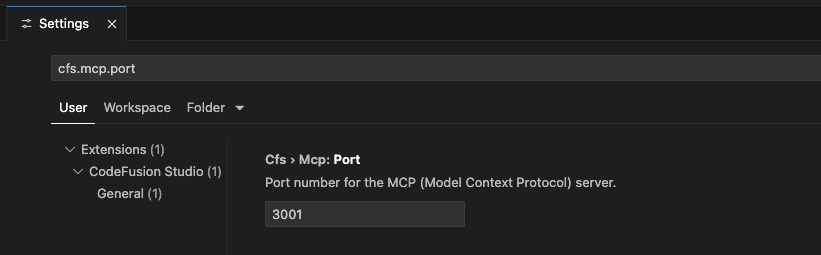
- Set the Port field (
cfs.mcp.port) to a specific value (0–65535). Setting it to0restores OS-assigned behaviour. - Run
(CFS) MCP: Stop Debug Serverthen(CFS) MCP: Start Debug Serverto restart with the new port. A notification confirms the port the server is now listening on. -
If using Claude Code, re-register the server with the new port:
claude mcp remove cfs-debug
claude mcp add --transport http cfs-debug http://localhost:<port>/mcp
claude mcp list
Note
GitHub Copilot reads the port directly from the cfs.mcp.port setting — no re-registration is needed after a port change.
Optional: Verify the connection with MCP Inspector
To test the connection independently of any AI client, use the open-source MCP Inspector:
npx @modelcontextprotocol/inspector
The inspector outputs a session token and a URL with that token pre-filled:
Starting MCP inspector...
⚙️ Proxy server listening on 127.0.0.1:6277
🔑 Session token: <your-session-token>
Use this token to authenticate requests or set DANGEROUSLY_OMIT_AUTH=true to disable auth

🔗 Open inspector with token pre-filled:
   http://localhost:6274/?MCP_PROXY_AUTH_TOKEN=<your-session-token>

🔍 MCP Inspector is up and running at http://127.0.0.1:6274 🚀
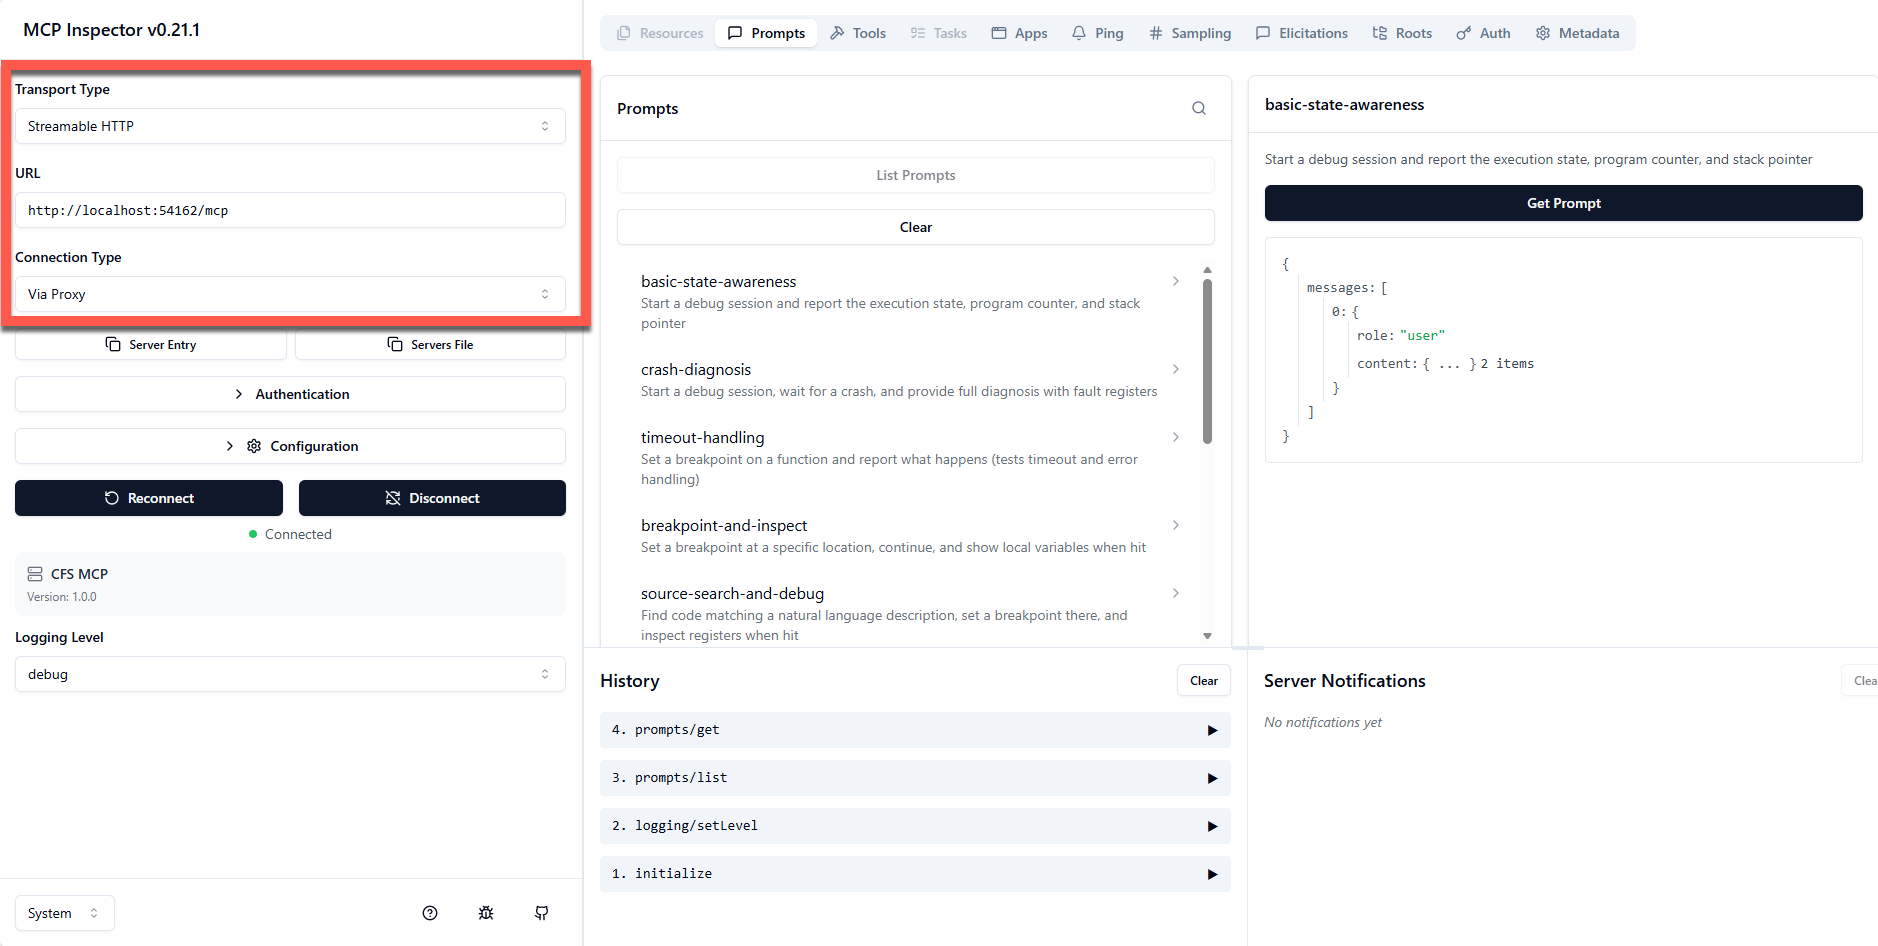
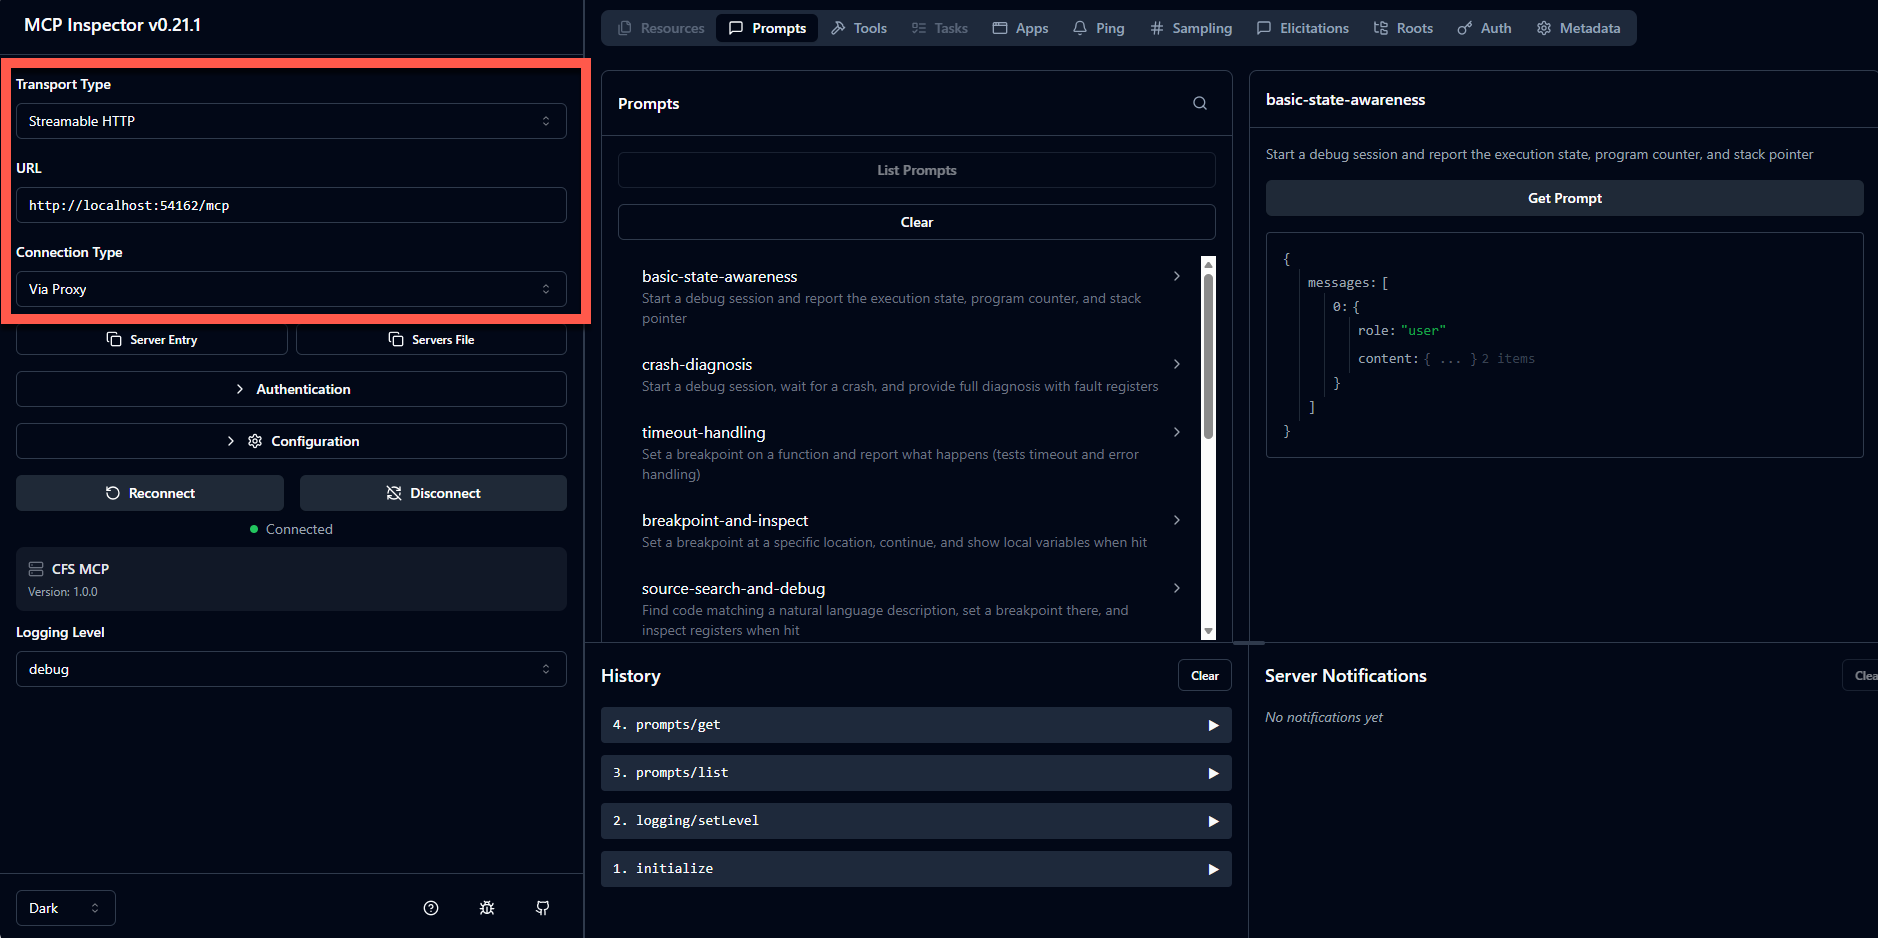
- Open the URL shown in your terminal — this opens the MCP Inspector in your browser with the session token pre-filled.
- Select Streamable HTTP as the transport type.
- Select Via Proxy as the Connection Type.
- Enter the MCP server URL using the port assigned at startup (for example,
http://localhost:<port>/mcp). Check the port via(CFS) MCP: Server Statusif needed. - Click Connect.
Once connected, you can browse all available tools, resources, and prompts, and execute them manually to verify the server is working.
CFS Debug chat participant
Before you begin, make sure you have:
- CodeFusion Studio installed with an active project
- VS Code 1.96.0 or later
- GitHub Copilot extension installed and authenticated
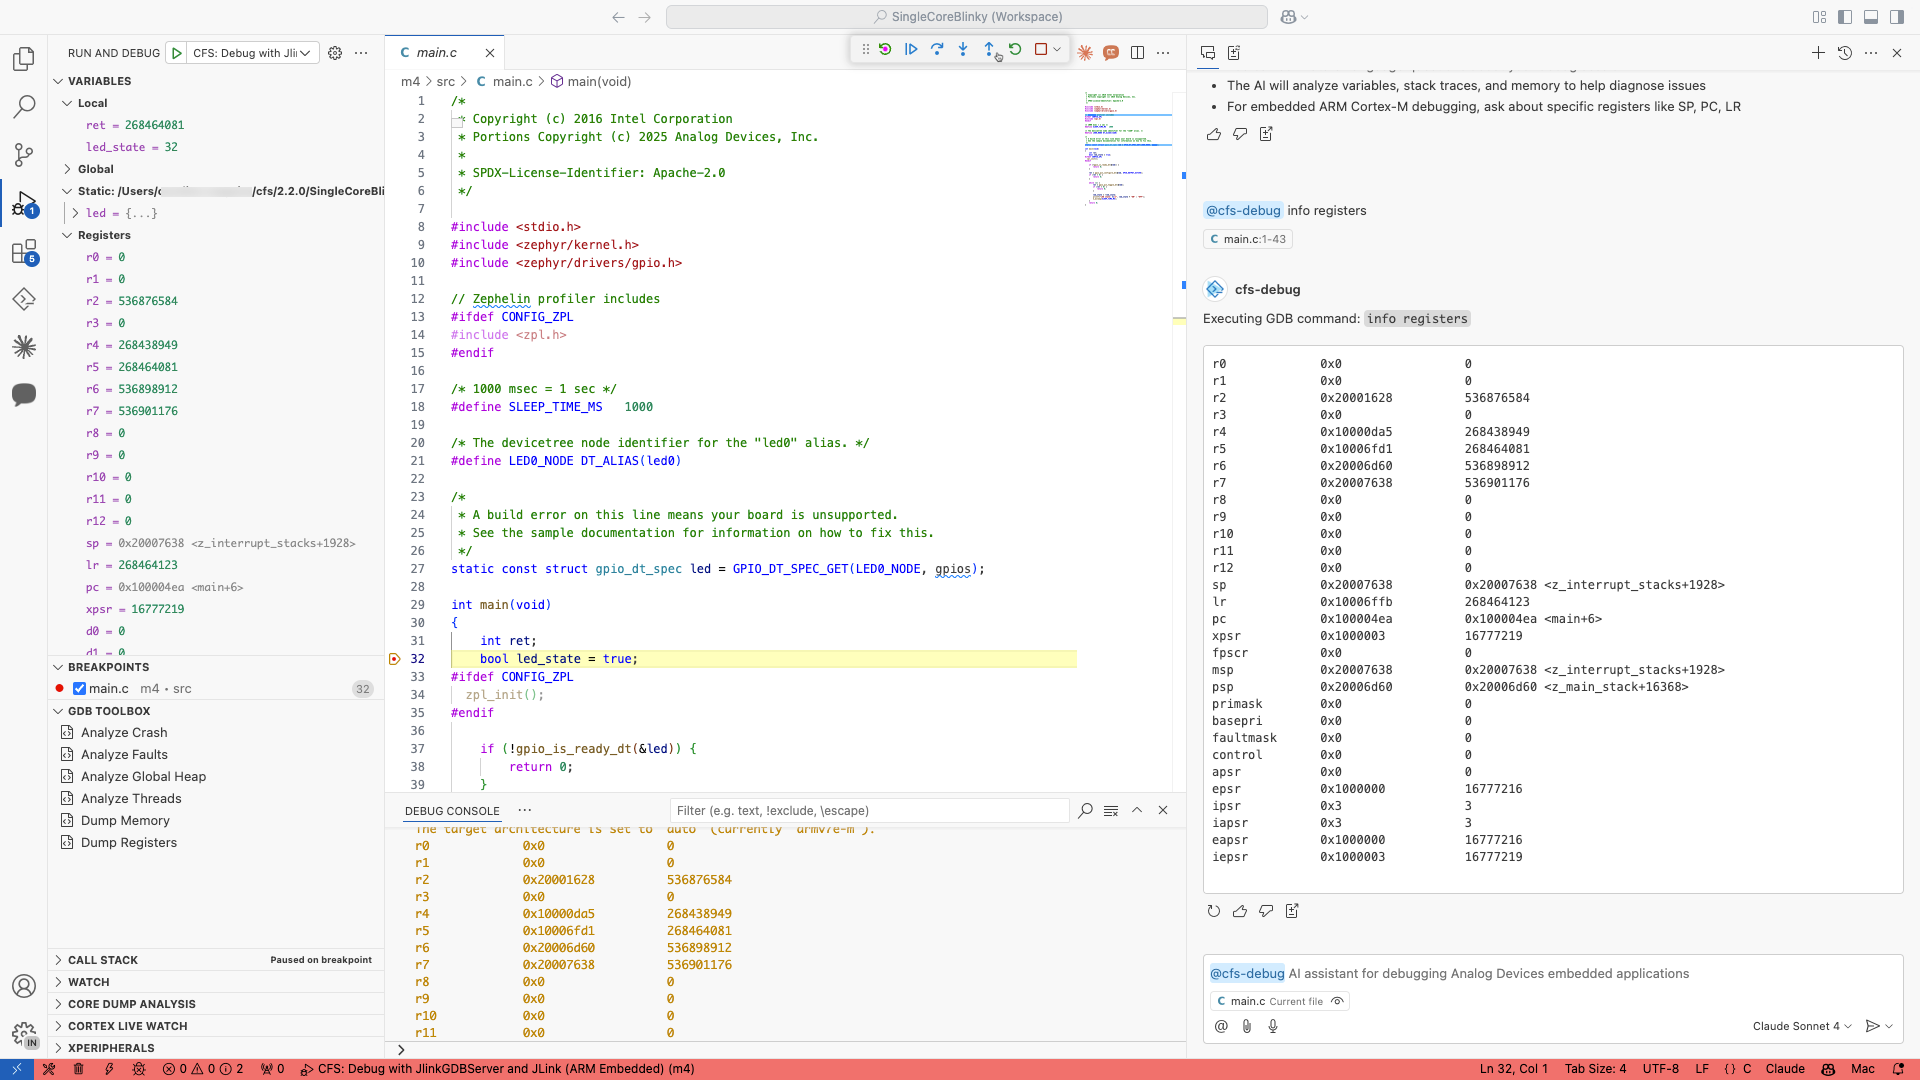
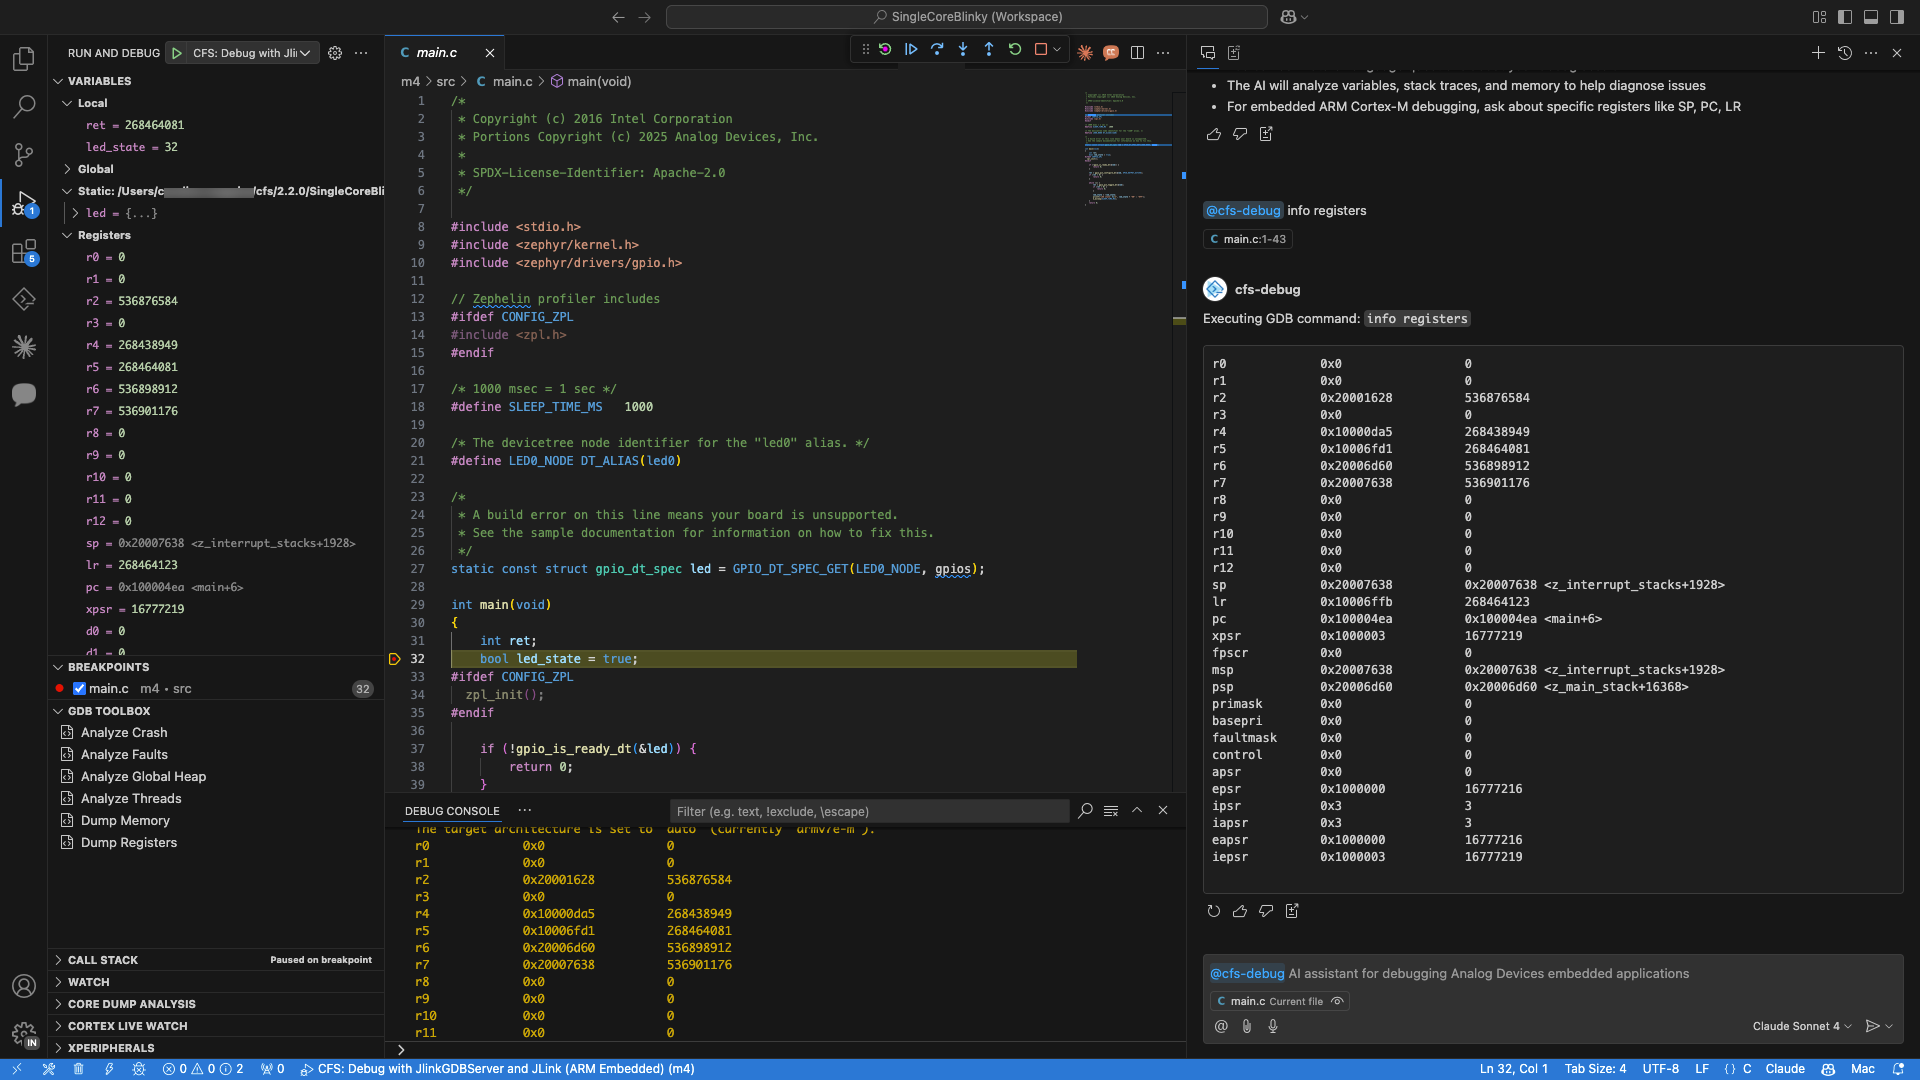
Use the chat participant
- Open GitHub Copilot Chat (
Ctrl+Alt+I/Cmd+Shift+I). - Type
@cfs-debugfollowed by your question.
The chat participant is available immediately - no MCP server setup required.
Tip
For best results, use a Claude model (such as Claude Sonnet 4.5 or Claude Opus 4.6) with the @cfs-debug chat participant. Other models may work for basic commands but could produce inconsistent results or errors for AI analysis features.
Next steps
- Using the AI Debug Assistant — practical examples for both interfaces with real-world debugging scenarios
- Tools and workflows reference — full reference for all debug tools and diagnostic prompts