Build, clean, flash, and debug tasks
After creating a workspace and configuring it in System Planner, you can run various tasks to create, flash, clean, and run applications.
Access the tasks
Tasks can be accessed in the following ways:
- Command Palette: Open the Command Palette (
Ctrl+Shift+PorCmd+Shift+Pon macOS), search for Tasks: Run Build Task or Tasks: Run Task, then select the desired task from the list. - Actions view: Click the CFS icon

 in the Activity Bar, then choose a task from the Actions view. You can also create new custom tasks by clicking Copy and Edit

 next to each task.
- Status Bar: Click a relevant icon (build, clean, flash, debug) on the left side of the Status Bar.
- From the menu: Go to Terminal > Run Build Task, then select the desired task.
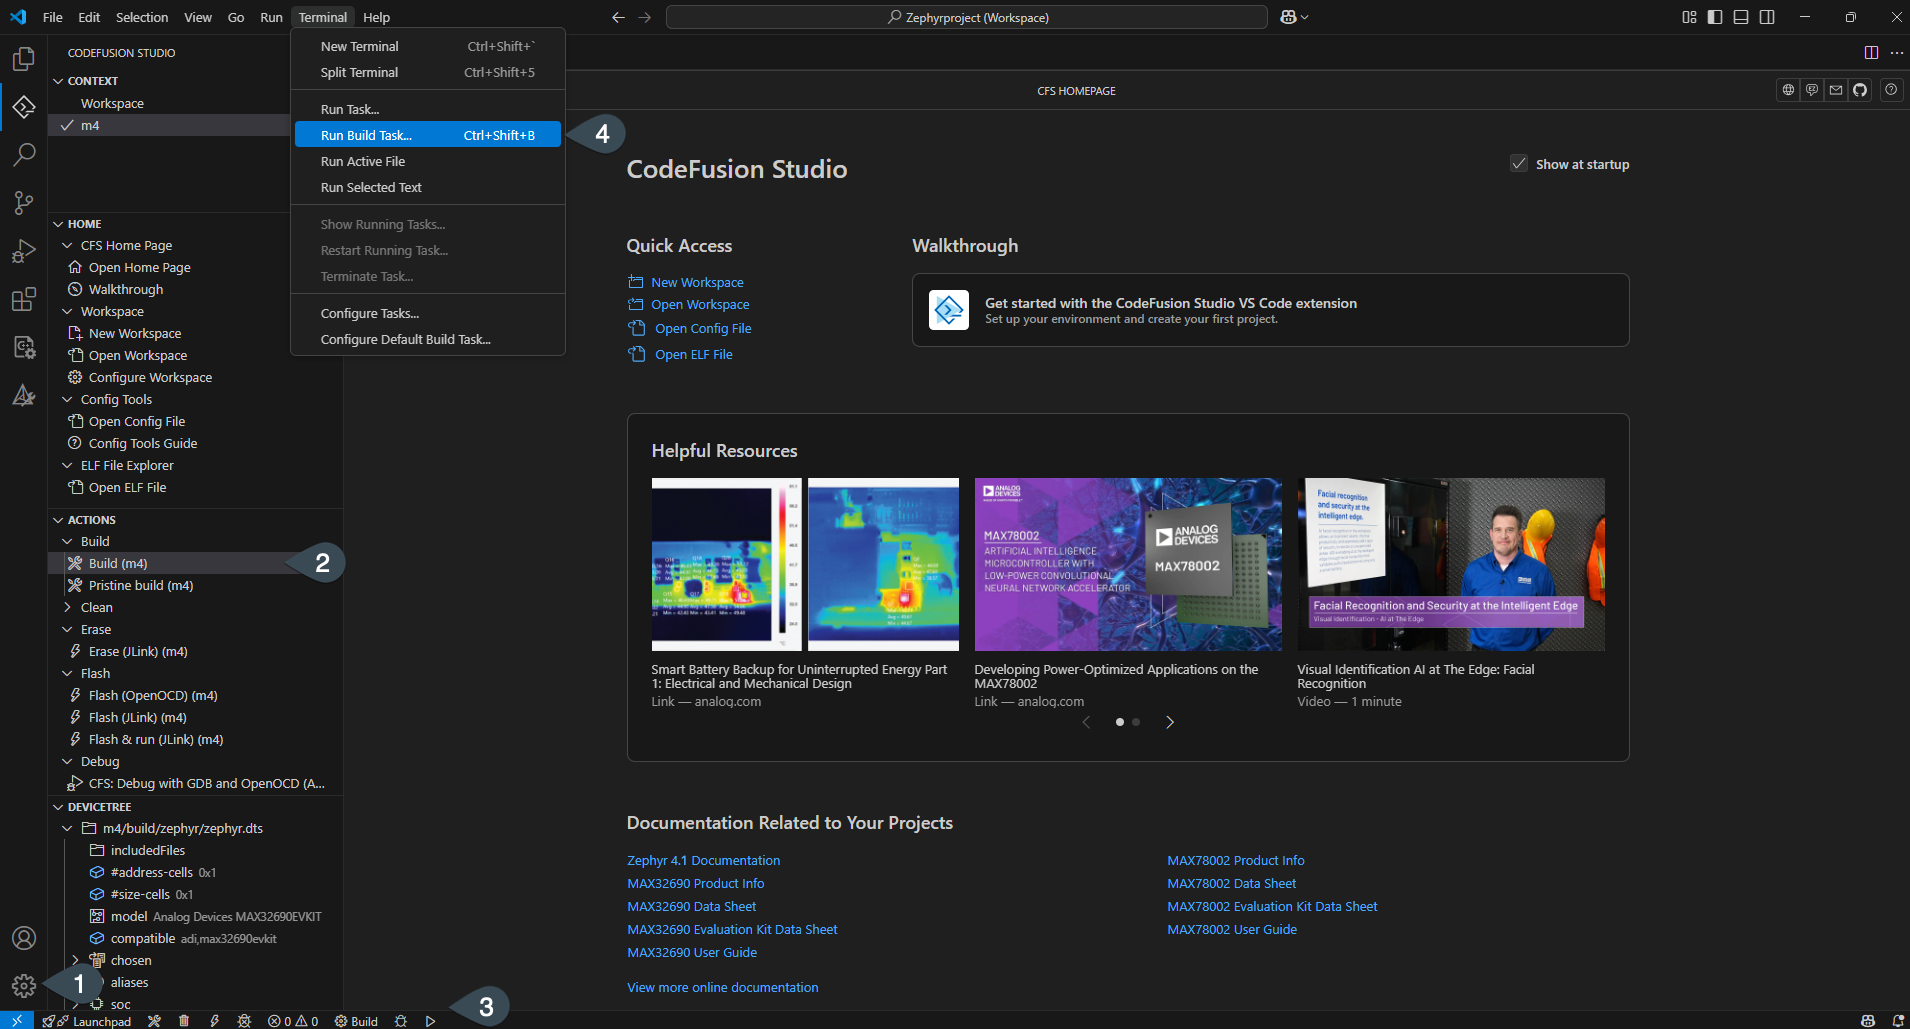
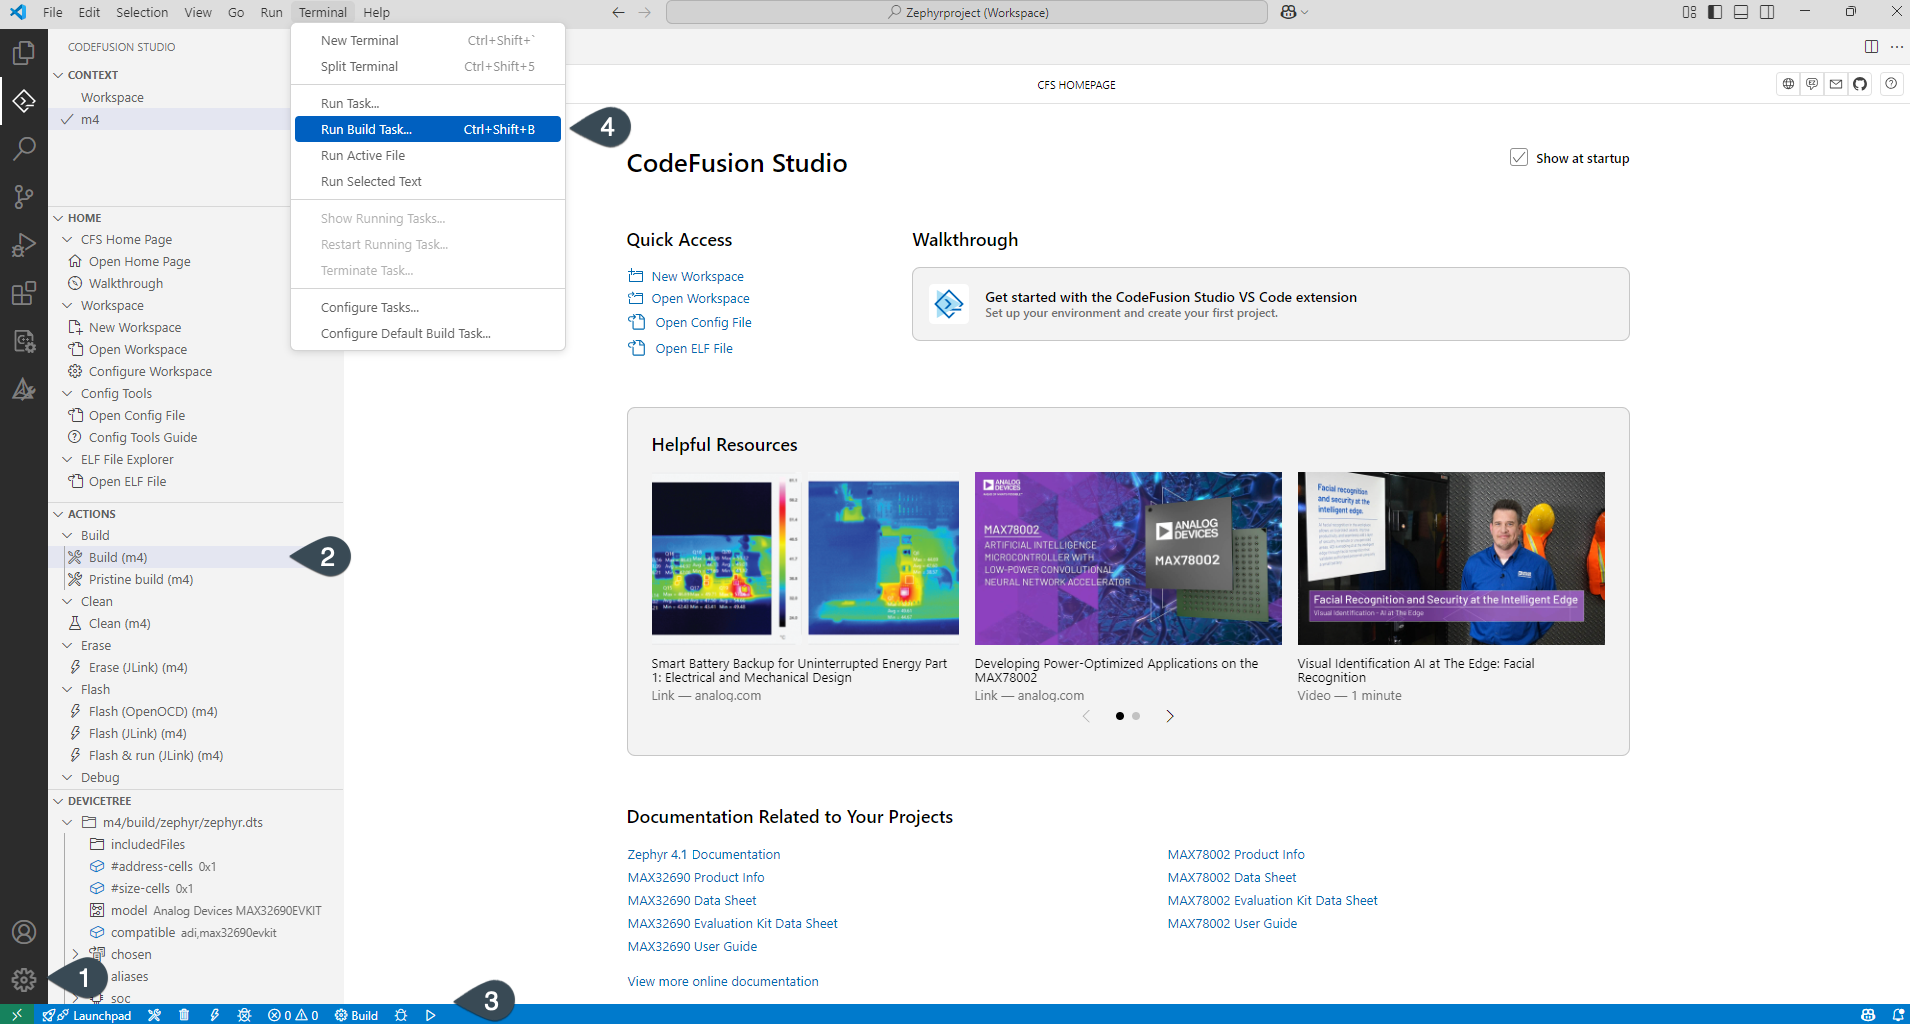
Note
All tasks operate in the same way independent of the mechanism used to invoke them.
Tasks
CFS: build
The CFS: build task compiles the code for your project. For MSDK projects, this uses make. For Zephyr projects, this uses west build. Build configuration variables (such as target, board, and toolchain) are read from the workspace .vscode/settings.json file (VS Code settings) and are set during workspace creation, or in the workspace, user, or system settings. The task creates the ./build directory, which contains the output binary and all intermediary object files.
Note
Shortcut: Ctrl + Shift + B (Windows/Linux) or Command + Shift + B (Mac).
The build task is also available with shortcuts on the left-hand side of the status bar.


CFS: pristine build
The CFS: pristine build task is available for Zephyr projects and performs a clean build from scratch, removing all previous build artifacts before compiling. This runs west build -b <board> --pristine=always, which ensures a completely fresh build without relying on cached build outputs. Use this task to guarantee a clean slate or troubleshoot build issues that may be caused by stale artifacts.
CFS: clean
The CFS: clean task cleans the build output, removing the ./build directory and all of its contents.
Note
The clean task is available with the shortcut on the left-hand side of the status bar.


CFS: clean-periph
The CFS: clean-periph task runs CFS: clean and removes the build output for the MSDK peripheral drivers. Use CFS: clean-periph to recompile the peripheral drivers from source on the next build.
CFS: flash
The flash task runs CFS: build first, then flashes the output binary to the microcontroller using your configured debugger. The task name in the task picker will include the debugger type (for example, CFS: flash (OpenOCD) or CFS: flash (JLink)). After flashing completes, the target state (halted vs running) depends on the debugger/runner; reset or power cycle the microcontroller, or use your debugger to resume execution as needed. A debugger must be connected correctly to use this task. Refer to the microcontroller evaluation board data sheet for instructions.
Note
The flash task is available with the shortcut on the left-hand side of the status bar.


CFS: flash & run
The flash & run task runs CFS: build first, then flashes the output binary to the microcontroller and resumes execution of the program after flashing is complete. The task name in the task picker will include the debugger type (for example, CFS: flash & run (OpenOCD) or CFS: flash & run (JLink)).
CFS: erase
The erase task erases all of the application code in the flash memory bank using your configured debugger. The task name in the task picker will include the debugger type (for example, CFS: erase (OpenOCD) or CFS: erase (JLink)). After running this task, the target microcontroller is effectively blank. Use to recover from low power (LP) lockouts, bad firmware, or other issues.
CFS: debug
The CFS: debug task will launch the previous debug session. This may run the CFS: flash command before running the application and halting at the breakpoint at main(). The executable file will need to be built using the CFS: build command before debugging. Care should be made to ensure the executable is up to date before debugging.
Using the activity view you can select a debug session to launch. See Debugging an application for more information.
Note
The debug task is available with the shortcut on the left-hand side of the status bar.


Create custom tasks
To create a custom build or flash task, do one of the following:
- Click the dropdown arrow in the Terminal panel and select Configure Tasks. Then choose a task from the list to copy.
- In the Actions view, click Copy and Edit next to the task you want to duplicate.
This opens your project's .vscode/tasks.json file and adds a copy of the selected task. You can now edit the copy without affecting the original.
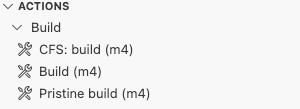
The new task also appears as a separate entry in the Actions view, with a label that starts with CFS: (for example, CFS: build).
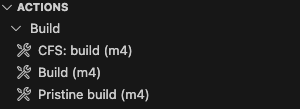
Tip
To personalize your task, append a description to the label in tasks.json. For example: "label": "CFS: build MAX32690-debug"
Modify build tasks
To modify a custom build or flash task, do one of the following:
- Click the dropdown arrow in the Terminal panel and select Configure Tasks. Then choose the task your previously created from the list.
- In the Actions view, click Edit

 next to your custom task.
The .vscode/tasks.json file opens in your editor. You can update the task directly in the file.
For more information on modifying build tasks, see Custom tasks