CodeFusion Studio Builds
The EdgeBench platform enables exporting EdgeBench builds into a CodeFusion Studio (CFS) project and allows a natural transition into production‑grade development, integration, and deployment.
Pre-requisites
- Visual Studio Code
- CodeFusion Studio Plugin Version 2.2.0 or newer
- Compiled EdgeBench build
Important
You can only export a build if a project has sucessfully passed the Compilation completed state. Please see the Configure and compile page for more information.
Exporting builds
This section walks you through the exporting process, broken down into these key steps:
-
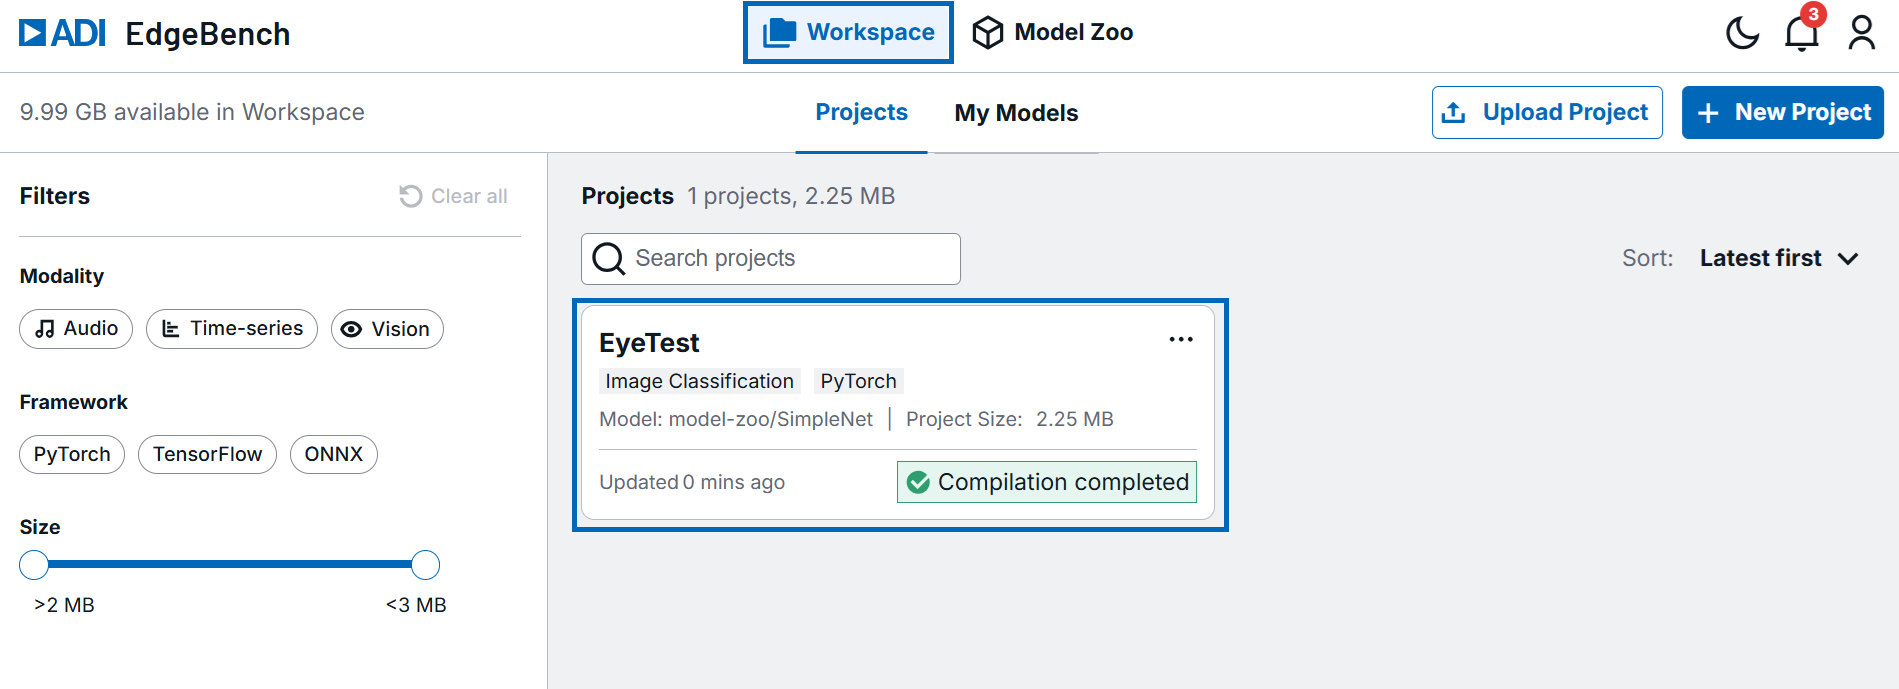
On the EdgeBench app, go to your Workspace and click the project with the build you want to export.
-
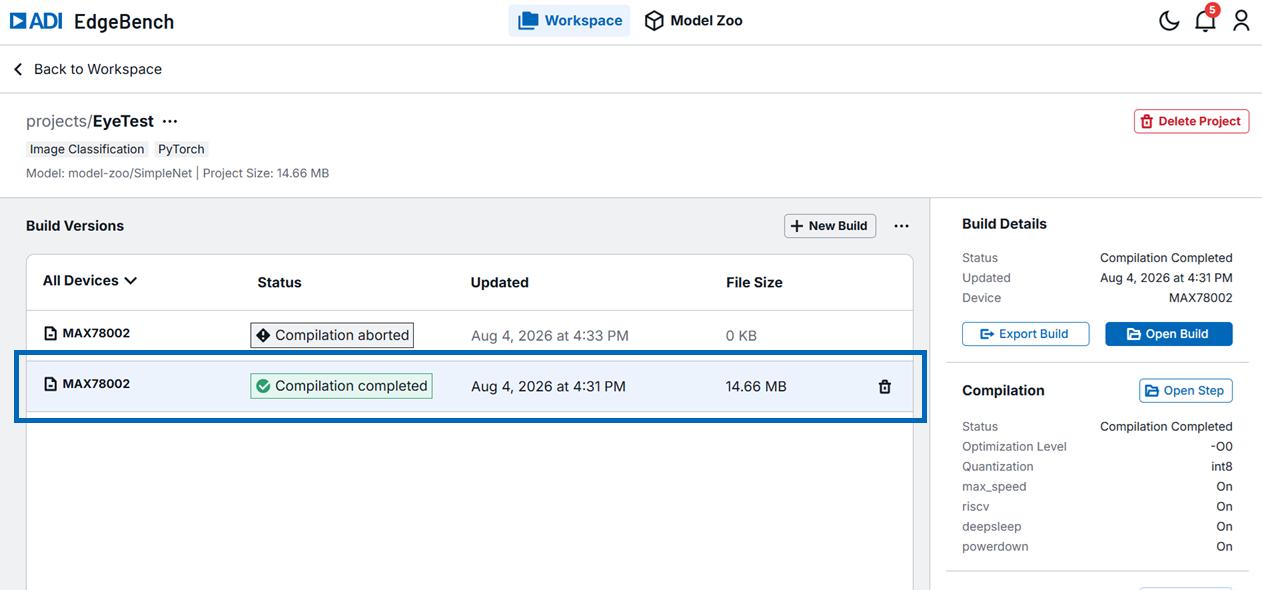
Click the specific build you want to export.
-
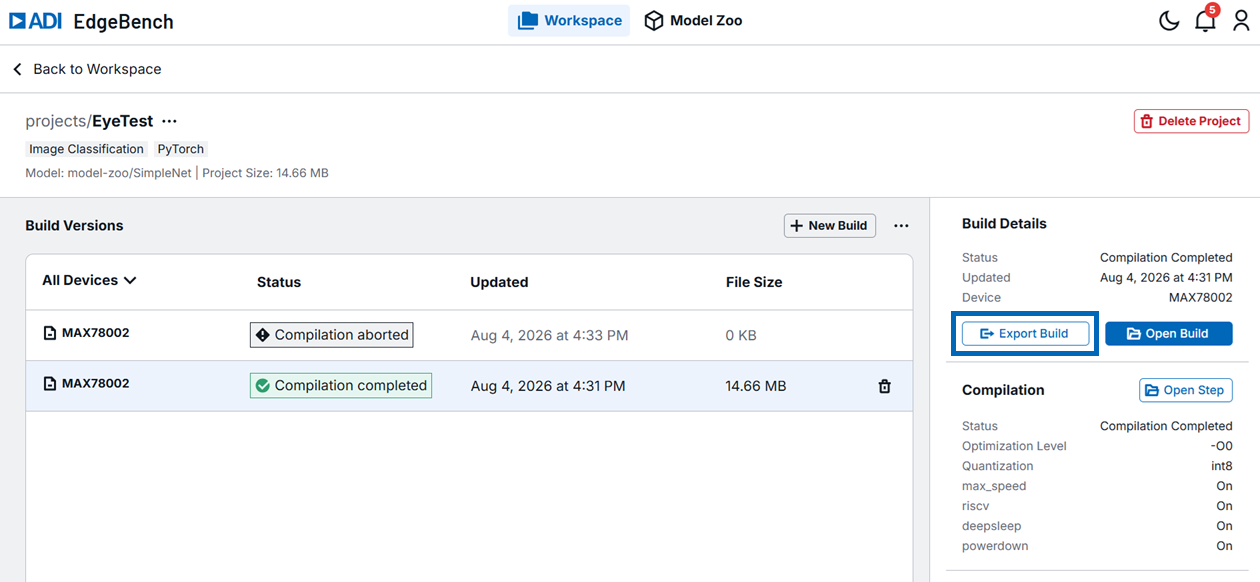
Under Build Details, click Export Build.
Note
If the Export Build button is greyed out, the project has not yet reached the Compilation completed state.
-
EdgeBench automatically generates and downloads the file. Extract the folder.
Note
The folder will include the following necessary files:
. ├── CMakeLists.txt # CMakeLists document ├── aimodels.cmake # AI model's CMake source file ├── boards │ ├── max32690evkit_max32690_m4.conf # Board's configuration file │ └── max32690evkit_max32690_m4.overlay # Board's overlay file ├── ds_cnn_s_int8.tflite # Model's TFLITE file ├── prj.conf # Project's configuration file └── src ├── adi_tflm │ ├── ds_cnn_s_int8.cpp # Model's C++ source file │ └── ds_cnn_s_int8.hpp # Model's C++ header file ├── input.h # Input source file └── main.cpp # Main source file -
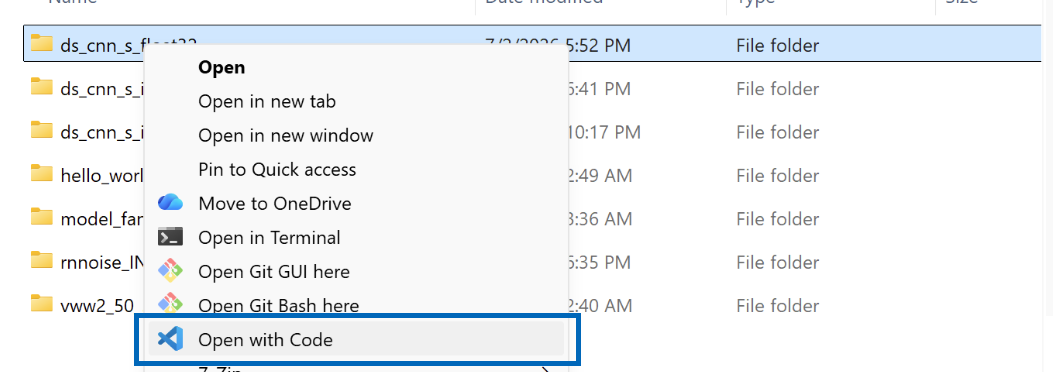
Right-click the extracted folder and click Open in Code.
Tip
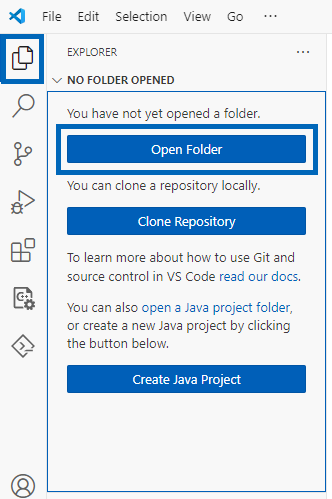
Alternatively, you can click on the Explorer icon in the VS Code activity bar and then click Open Folder or click File > Open Folder from the VS Code menu.
-
If a pop-up window at the bottom right appears that says CFS: Configure workspace as a CodeFusion Studio Project, click Yes.
Note
If you receive the notification Do you trust the authors of the files in this workspace?, click Yes, I trust the authors to continue.
-
Edit the sample input (
input.h) with your own data.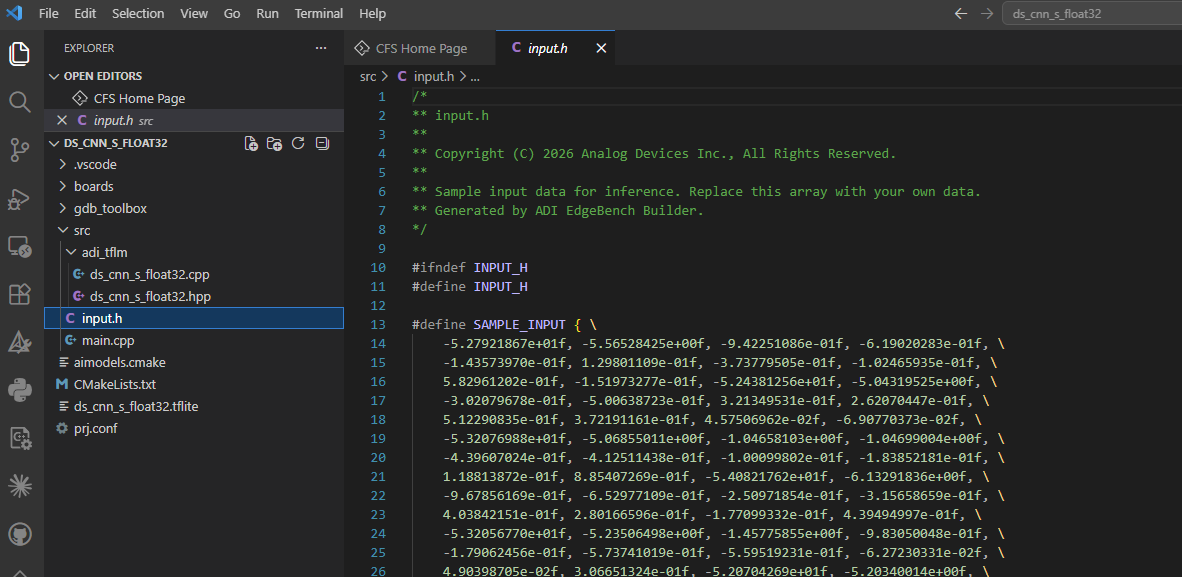
Note
Default sample data is 0. You can also edit the main source code (
main.c) as needed.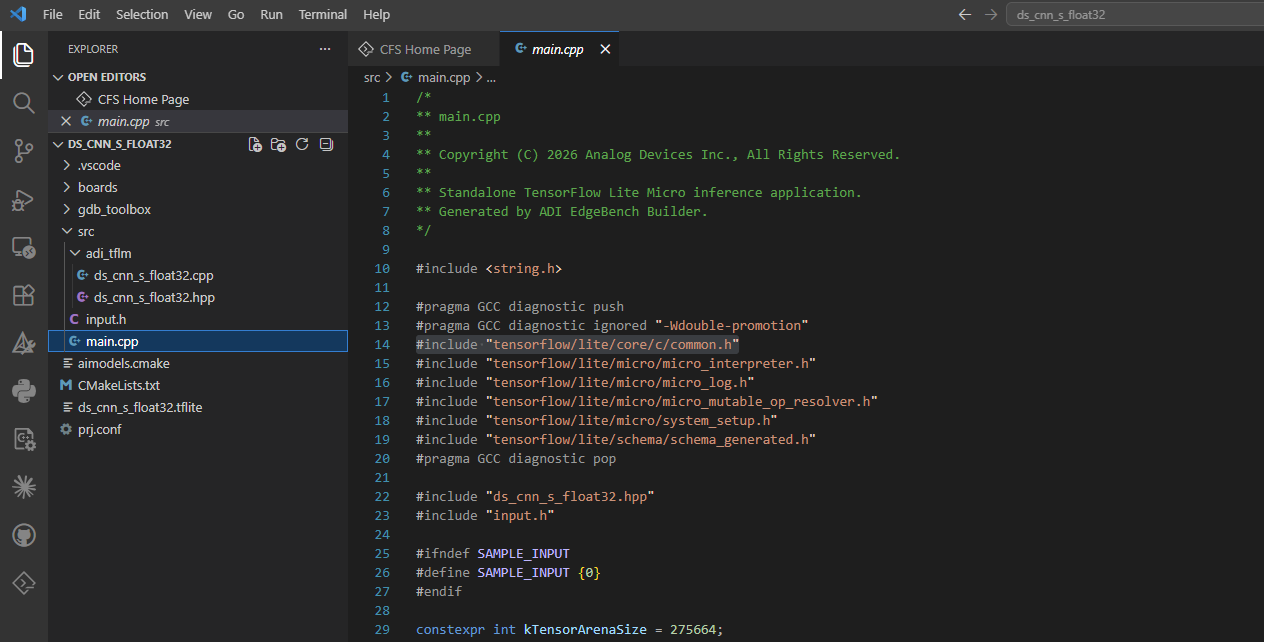
Important
For the MAX78002 only: The build uses
sampledata.handsampleoutput.h, which generate during the synthesis step of ai8x-synthesis.Insert the following code into the
main.cfile:// TODO: Replace with actual input data loading for your model. // Each AI8X model has a specific memory layout for input data. // See the model documentation for load_input() implementation. void load_input(void) { // Placeholder: load sample input data into CNN data memory } -
Your model is now a full CFS project. From here, you can build, flash, and debug on your target board. To learn how to use CFS, see CFS' User Guide and Documentation.